killakanz's Tank Setup for Total Beginners Tutorial
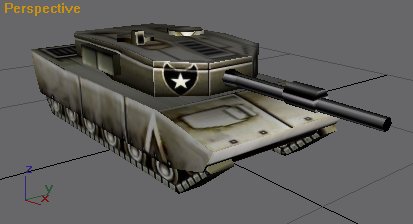
First we need a tank, so here's one I made earlier! I was starting to hope I'd seen the end of this leopard...

It is always best to have the tank skinned before putting the bones in, because the bones will just get in the way. So here's the tank I made earlier that I skinned earlier, or was that after? Well, there it is anyway. Nice eh?
Spin it round so that in top view the tank faces to the right, center it where the 2 thick black lines meet. Also on the side view make sure it's sat nicly on the thick black line, this is the ground.
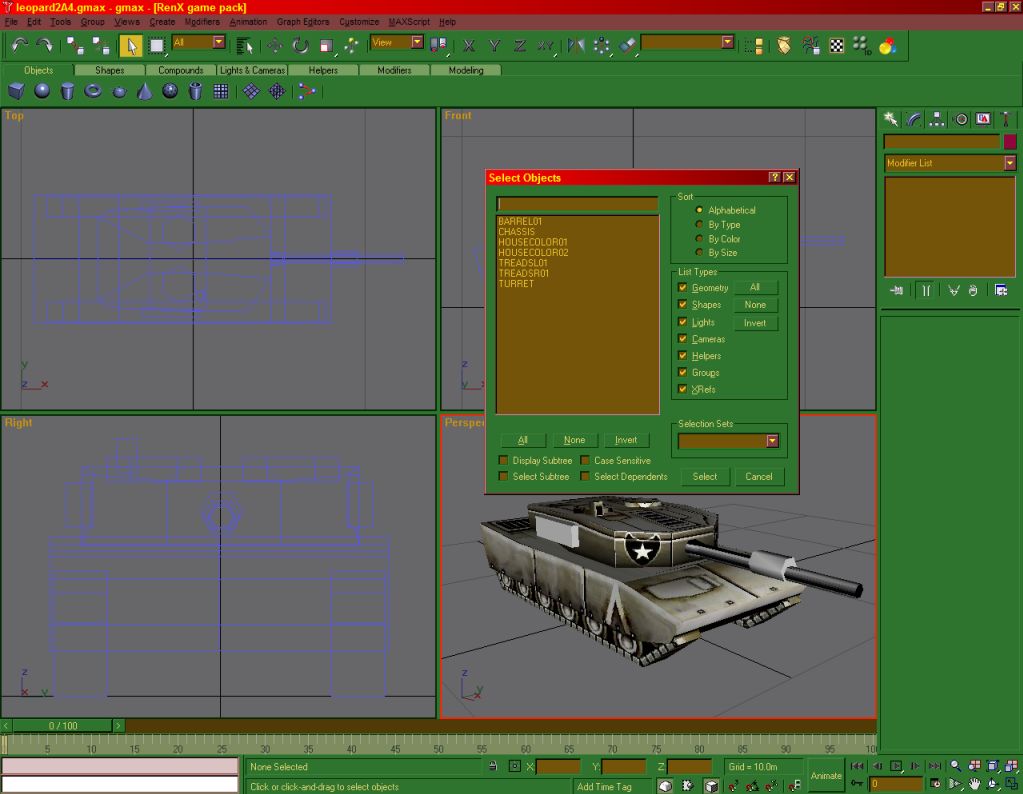
Now then, this tank needs to be attached up into sections; the chassis, turret, barrel, team colours and the 2 treads. If you have been following my other tutorials you should know by now how to attach stuff, but if not, it's easy. When an object is an editable mesh, you just click the attach button on the command panel and then click on another object to attach it.
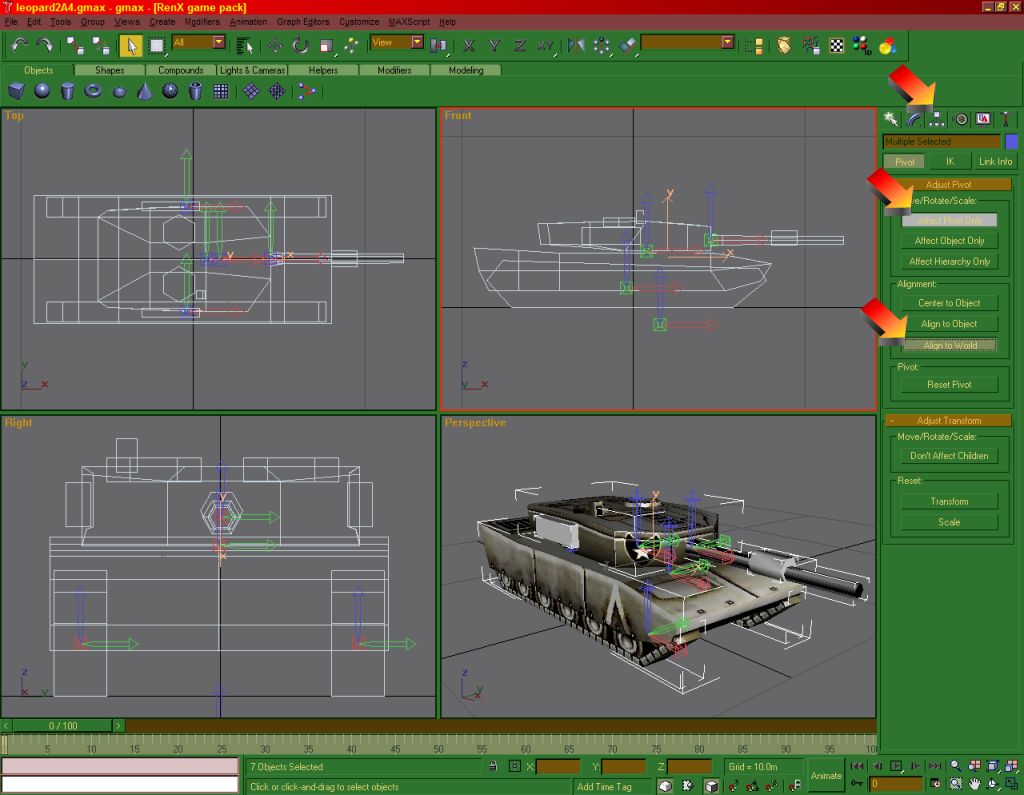
Next we need to sort out the pivot points, this is an important part of setting up the tank. Turrets use pivot points to show the game from where it turns and barrels use them to point which direction it recoils. Select all objects and go to the heirachy tab, click the 'Affect Pivot Only' button, then click the 'Align to World' button, then the affect pivot only button to get out of that mode. To make sure the pivots now point the right way, all blue arrows should point up, green arrows point to the tank's left, and the red arrows point ahead of the tank.
Previous | Next
 - all rights reserved.